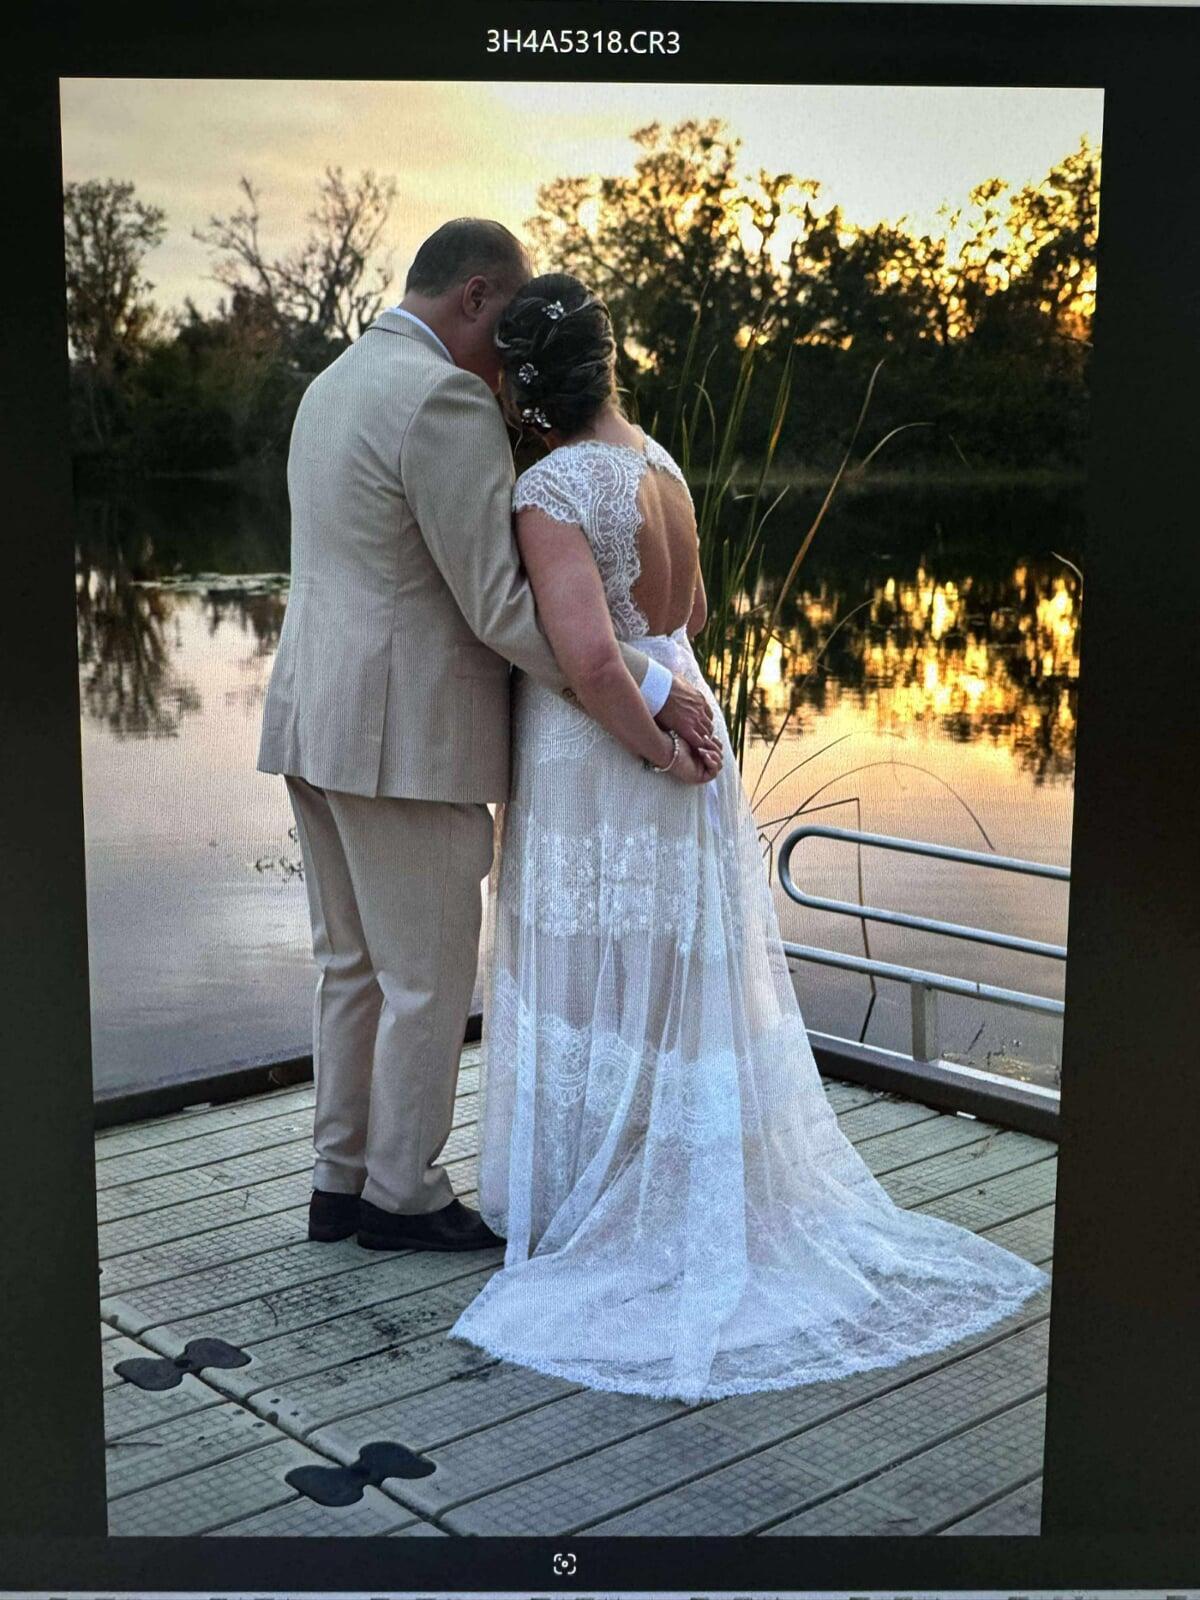
This dress needed the netting tightened at the neckline, cups sewn in, the lace taken in along the side backs to eliminate gaping, a belt sewn on, skirt shortened, and a bustle. There are a lot of pictures in this post, so keep scrolling for all the alterations details.


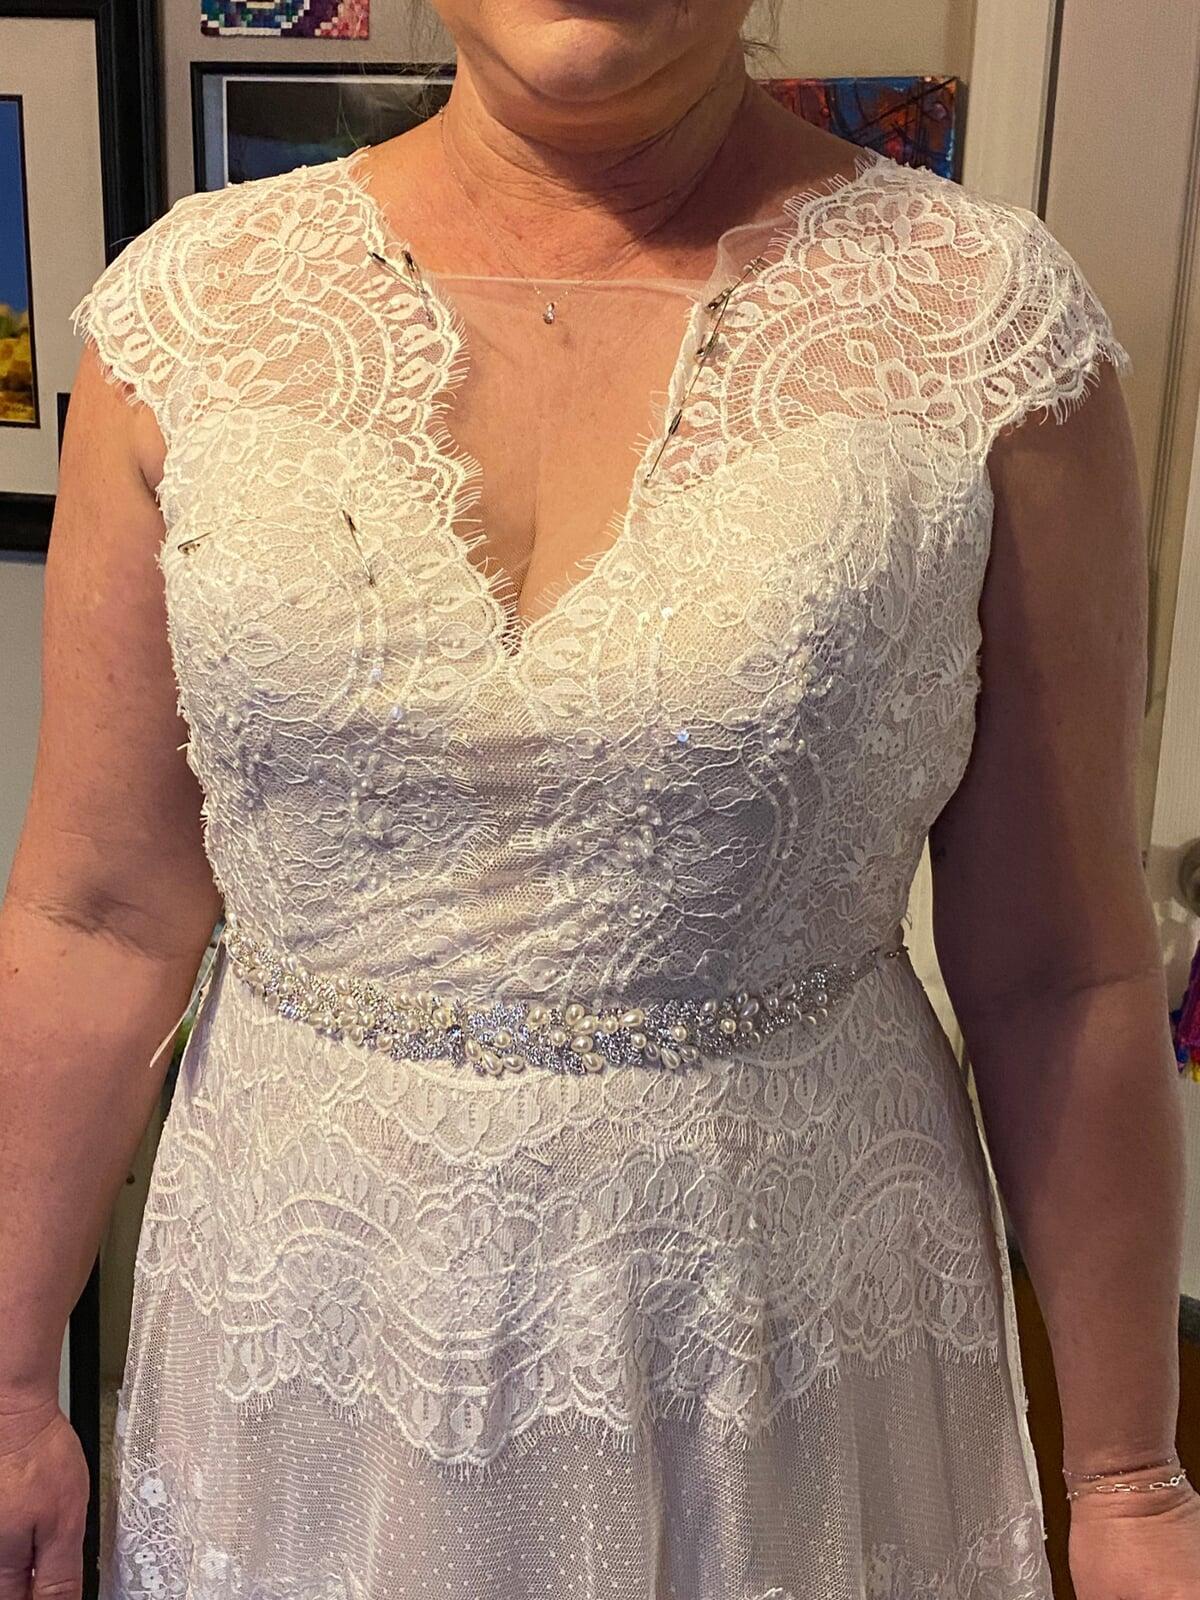
At the first fitting we, pinned the belt in place, pinned the cups into the dress, and pinned the sheer netting, so it was tight.
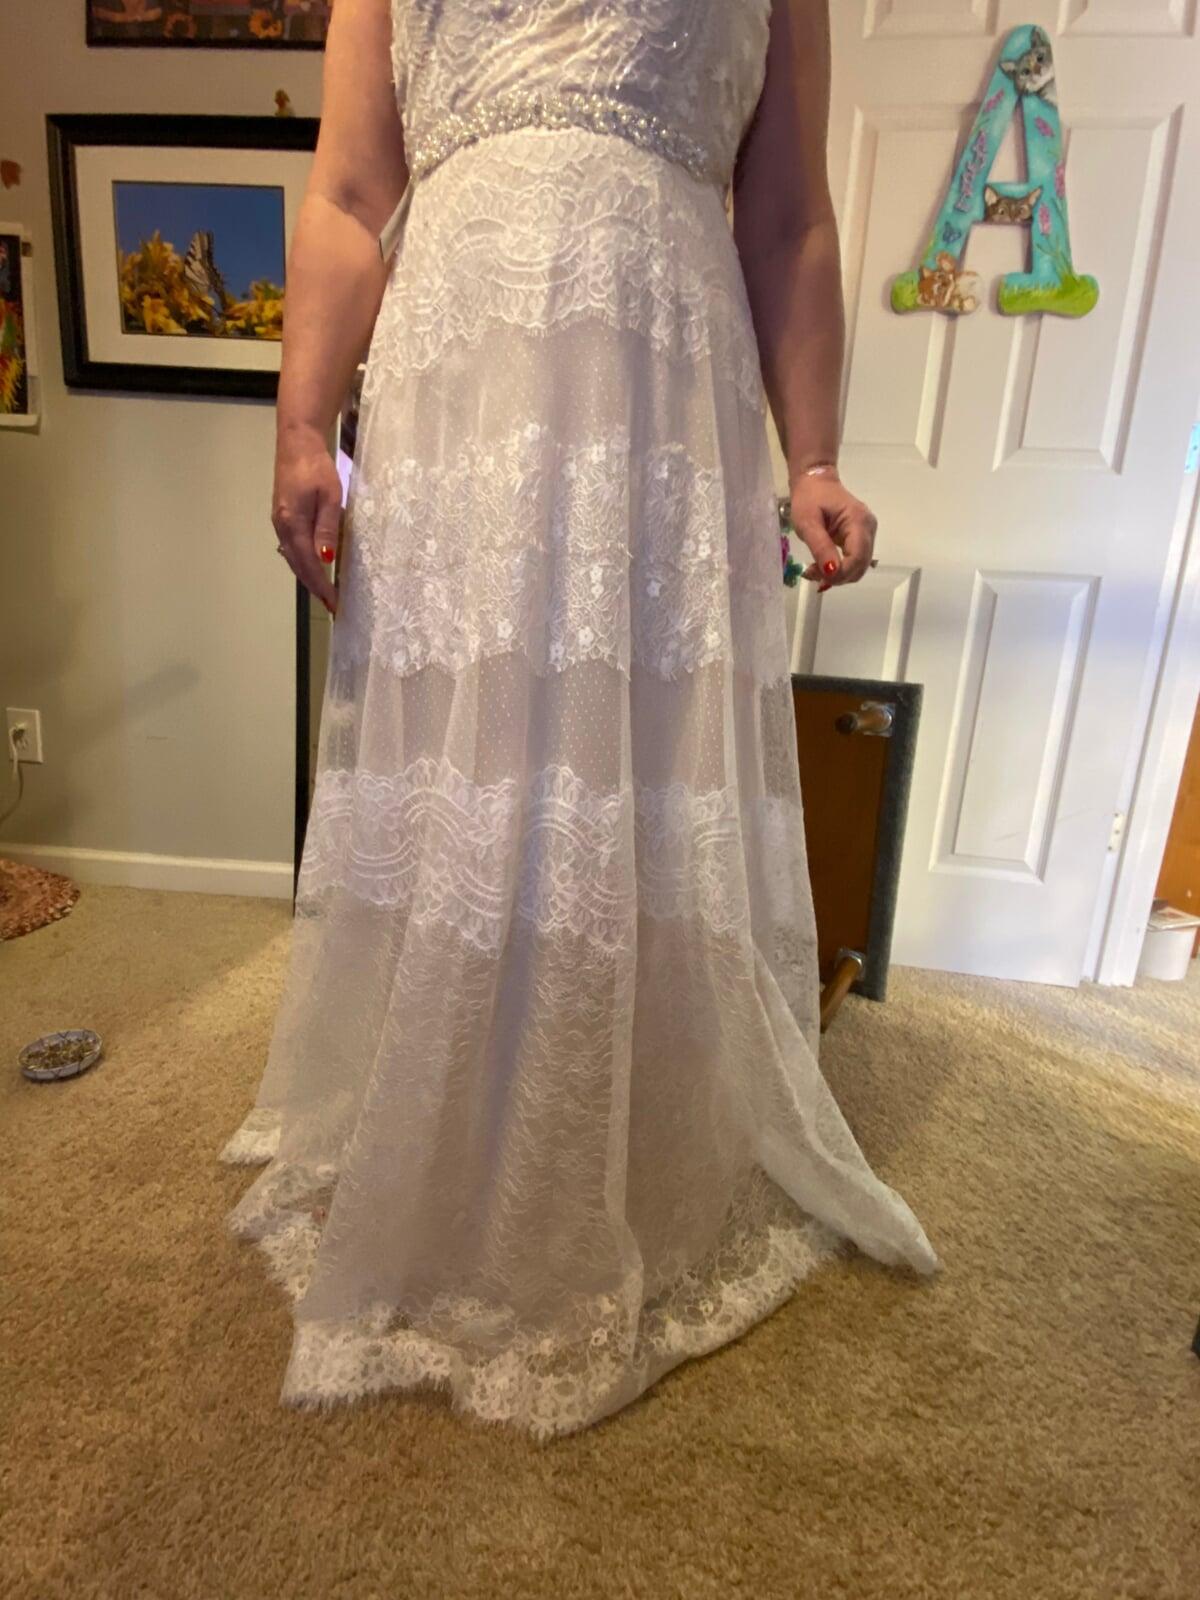
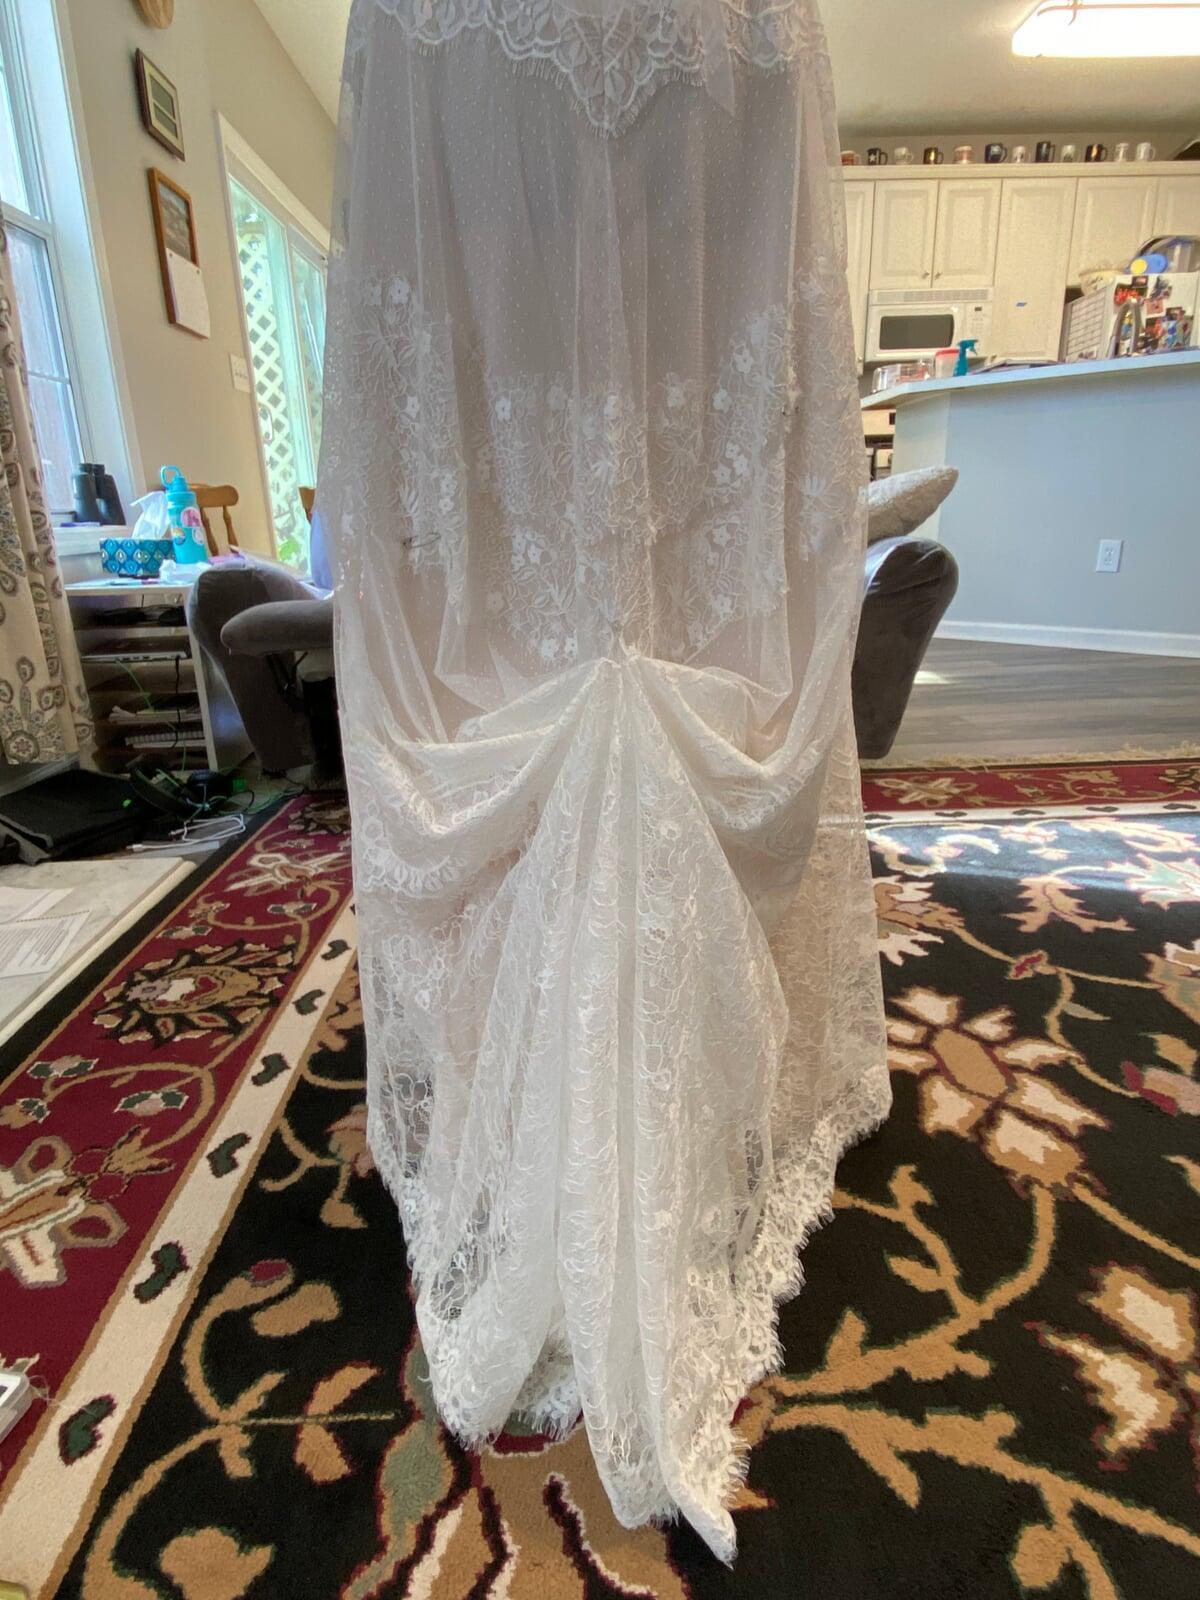
Other than being too long, the skirt of the dress fit well.
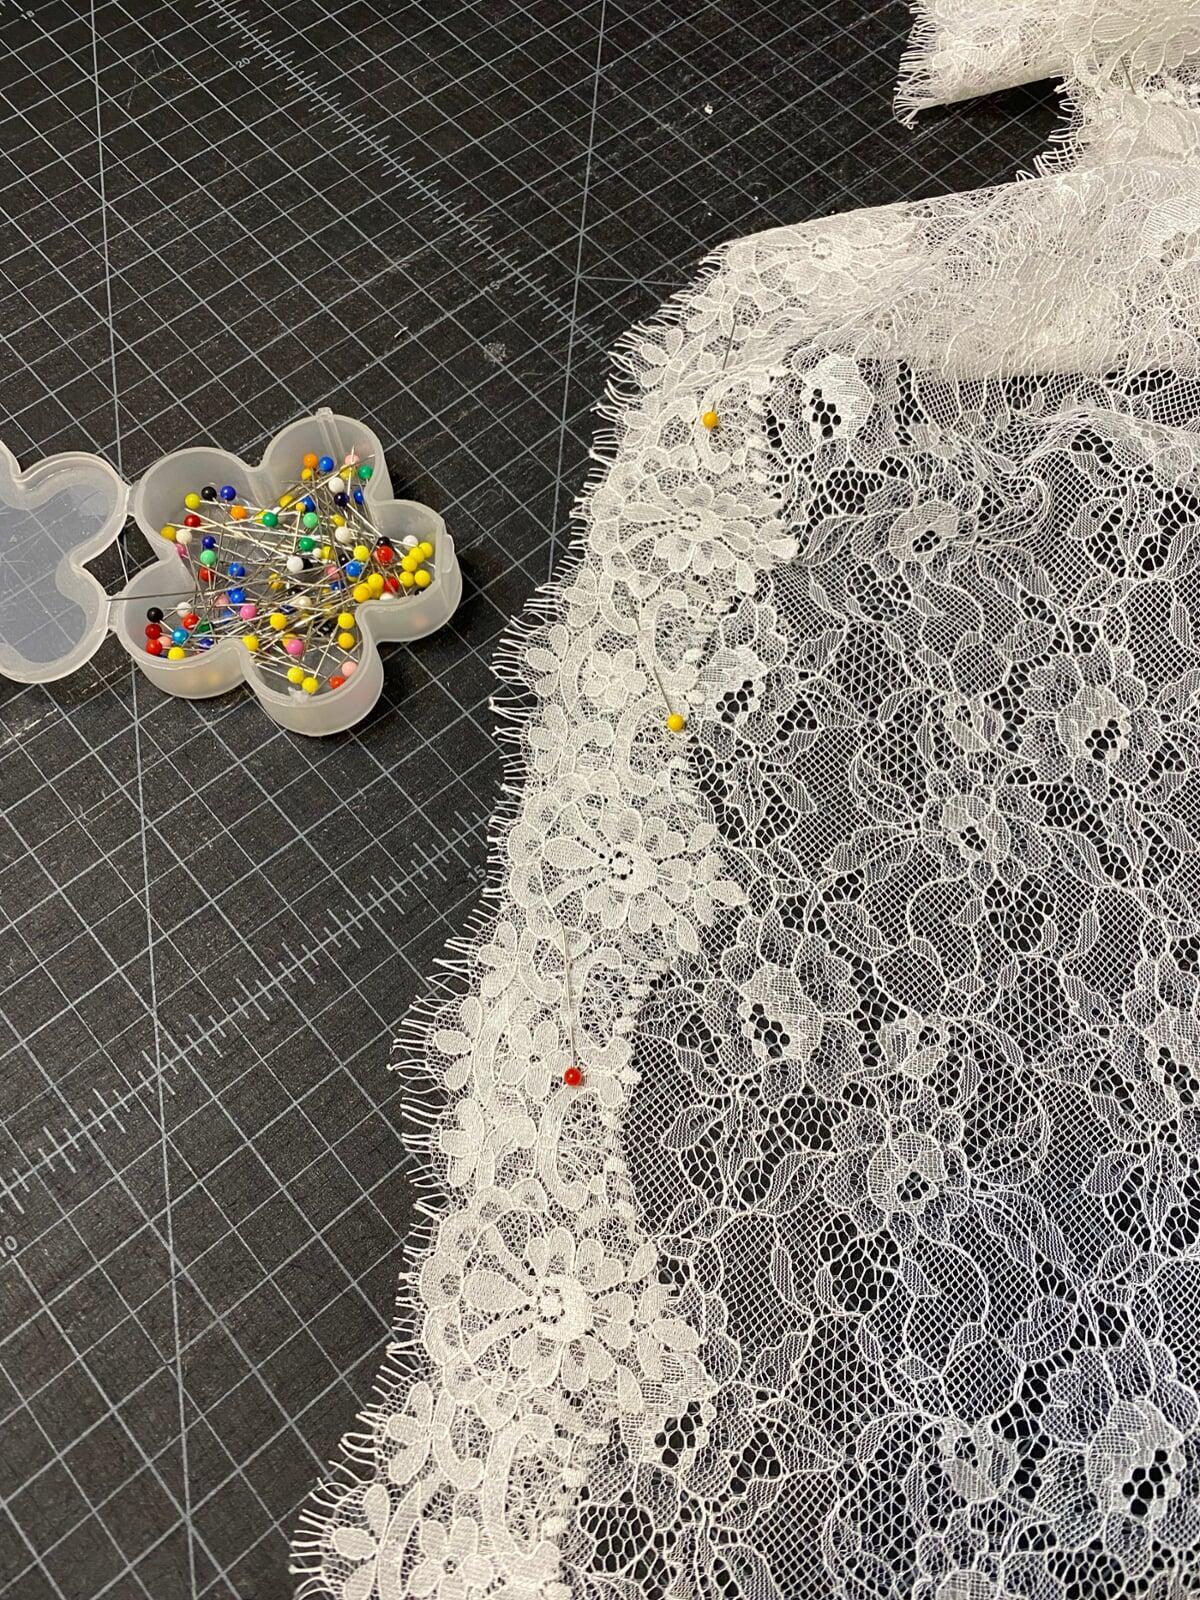
Here I have the lace from the hem pinned on at the right length and ready to be sewn.
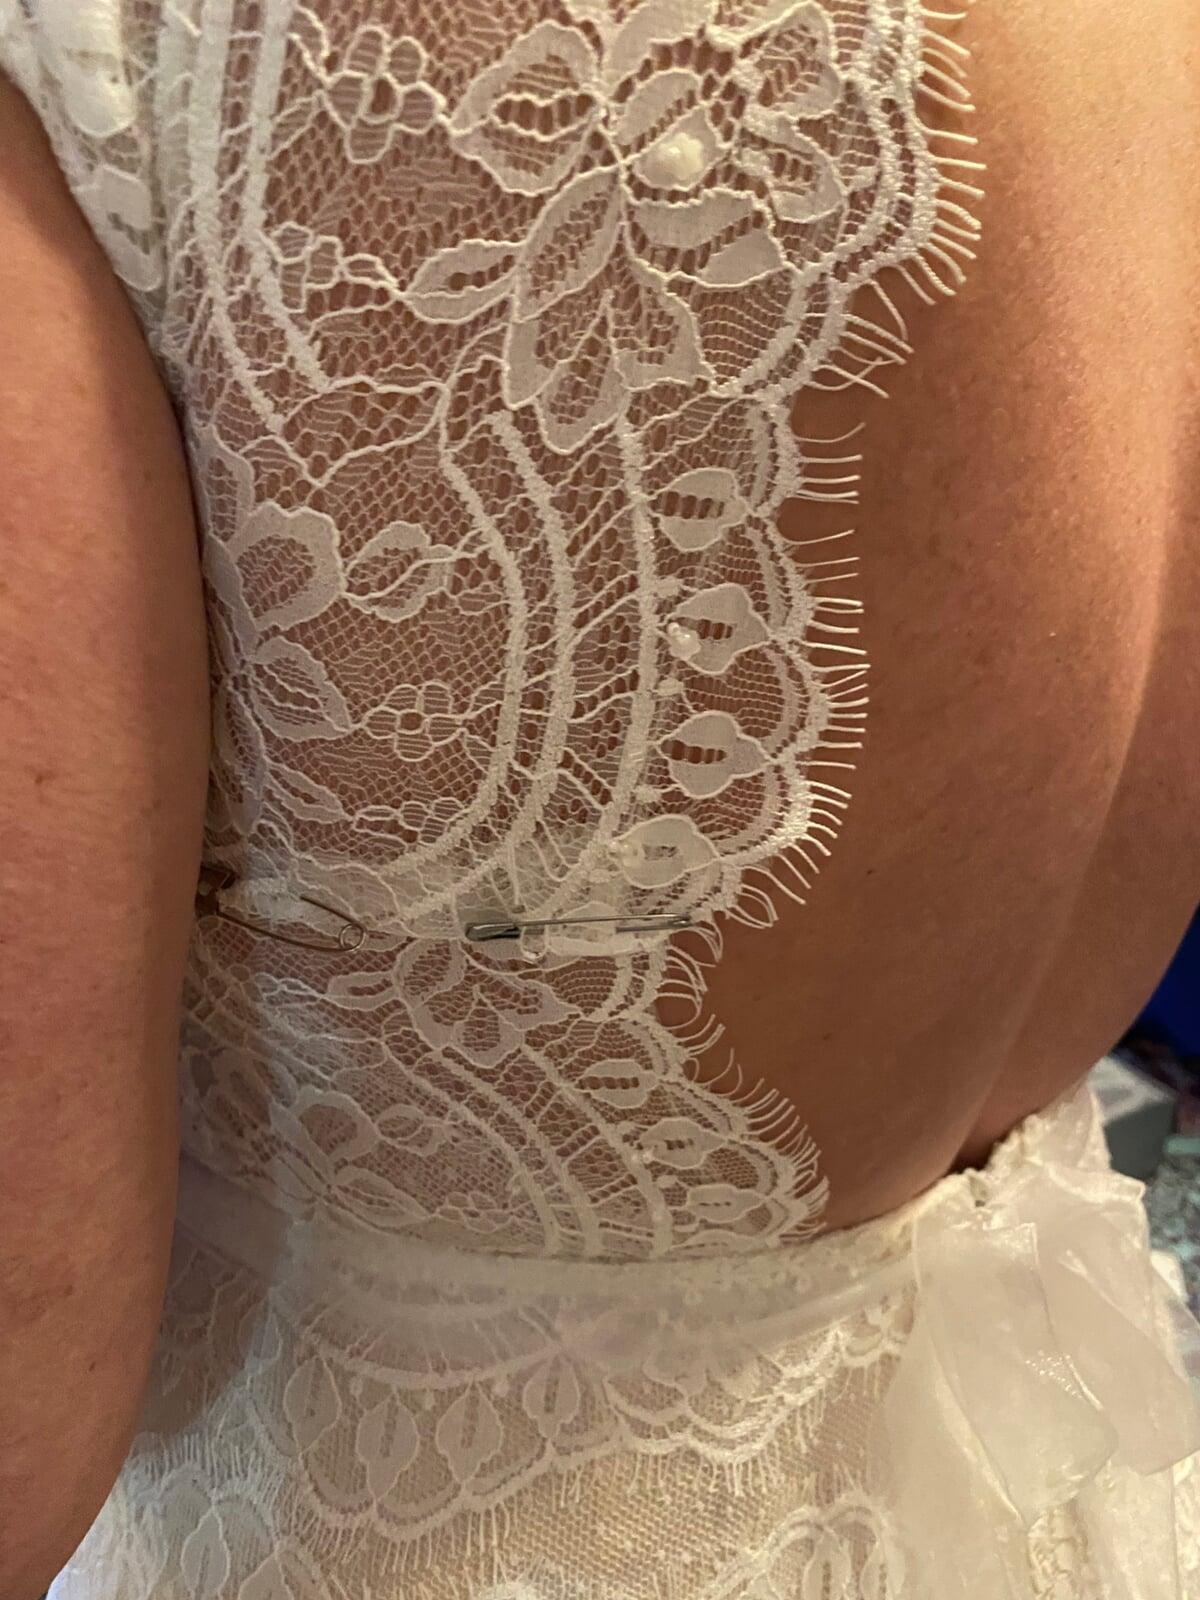
We needed to make a small dart in the lace on both sides of the back.
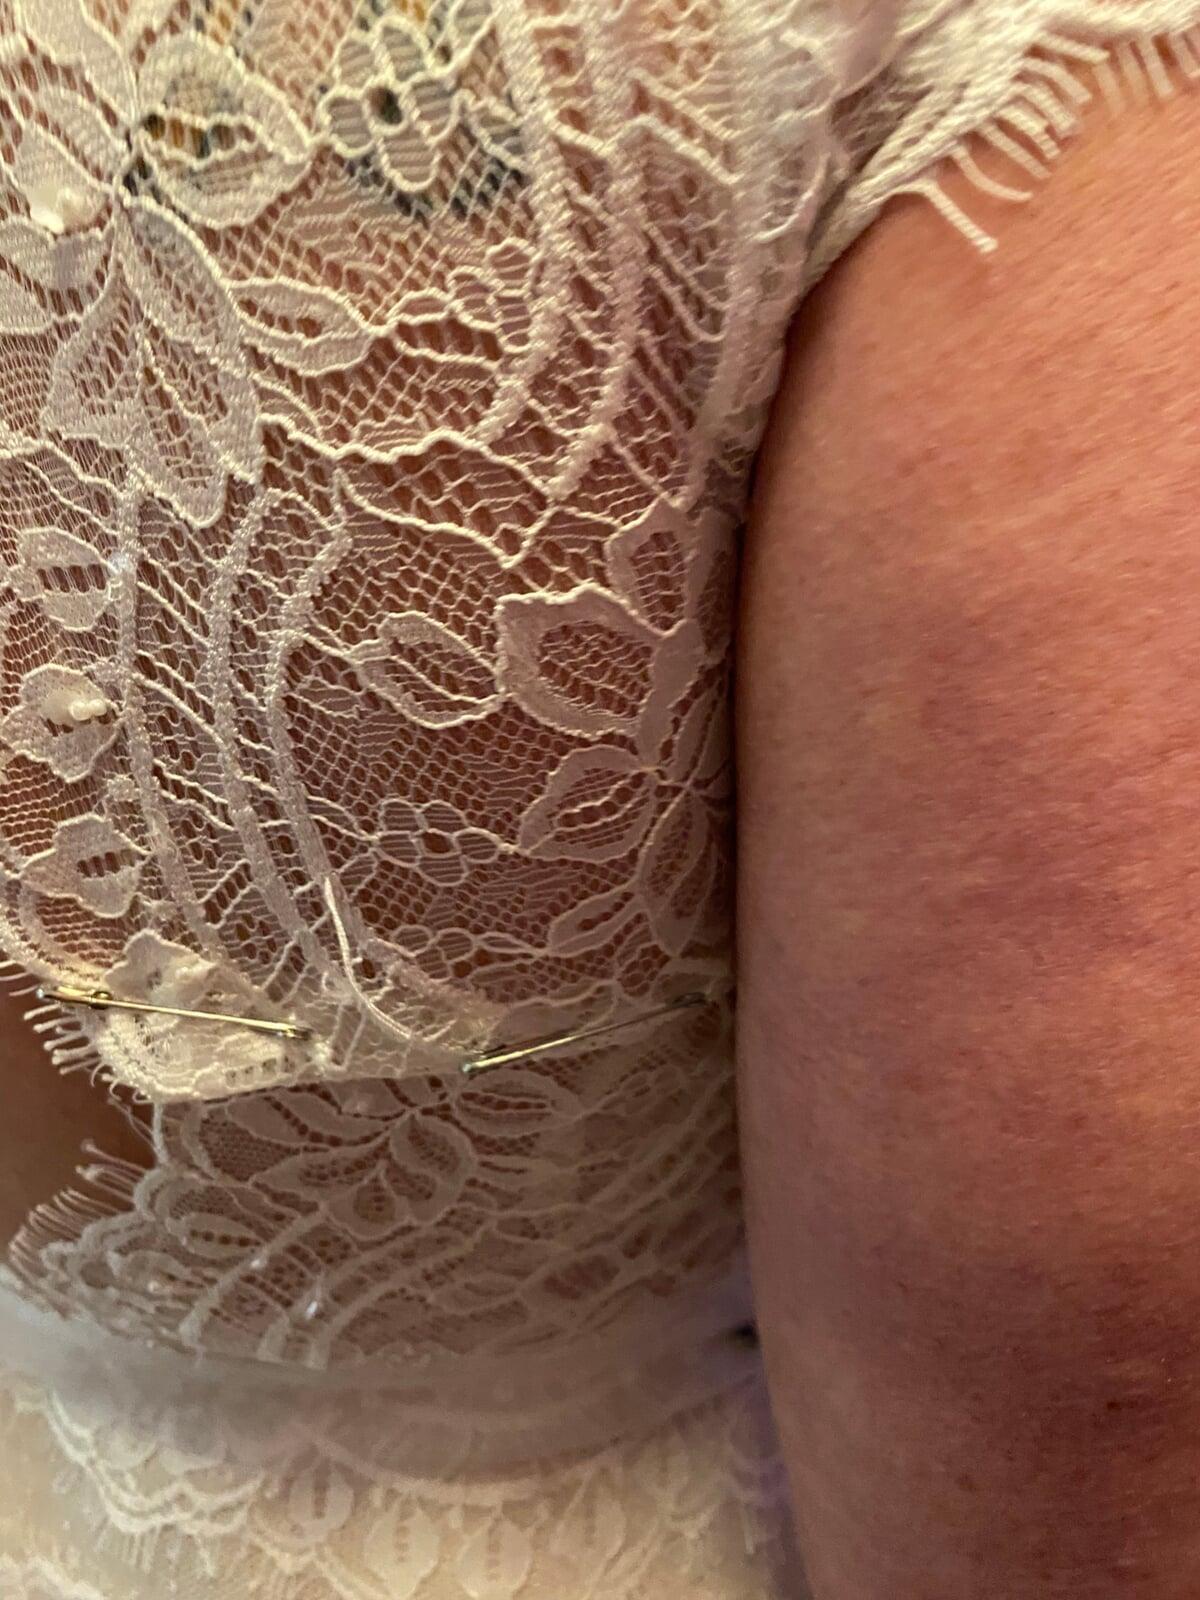
When I removed the safety pins from the back, I marked the edges and tip of the dart with straight pins.
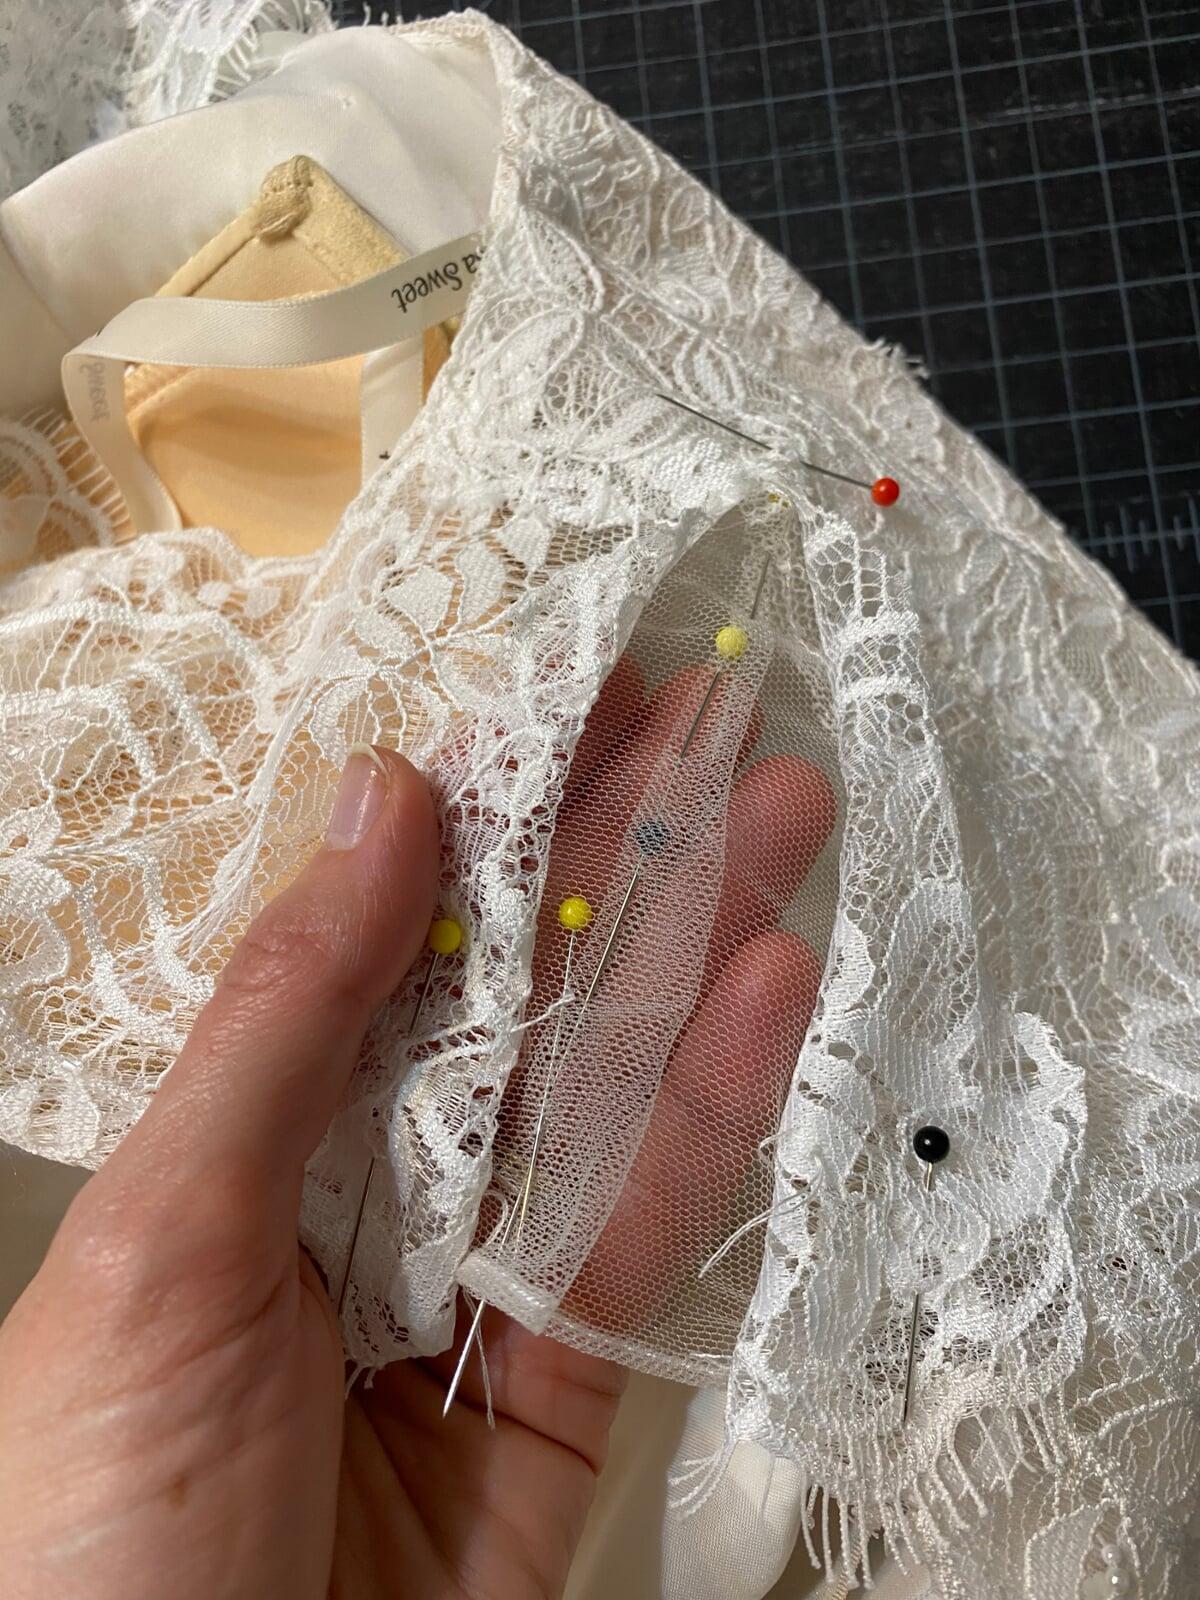
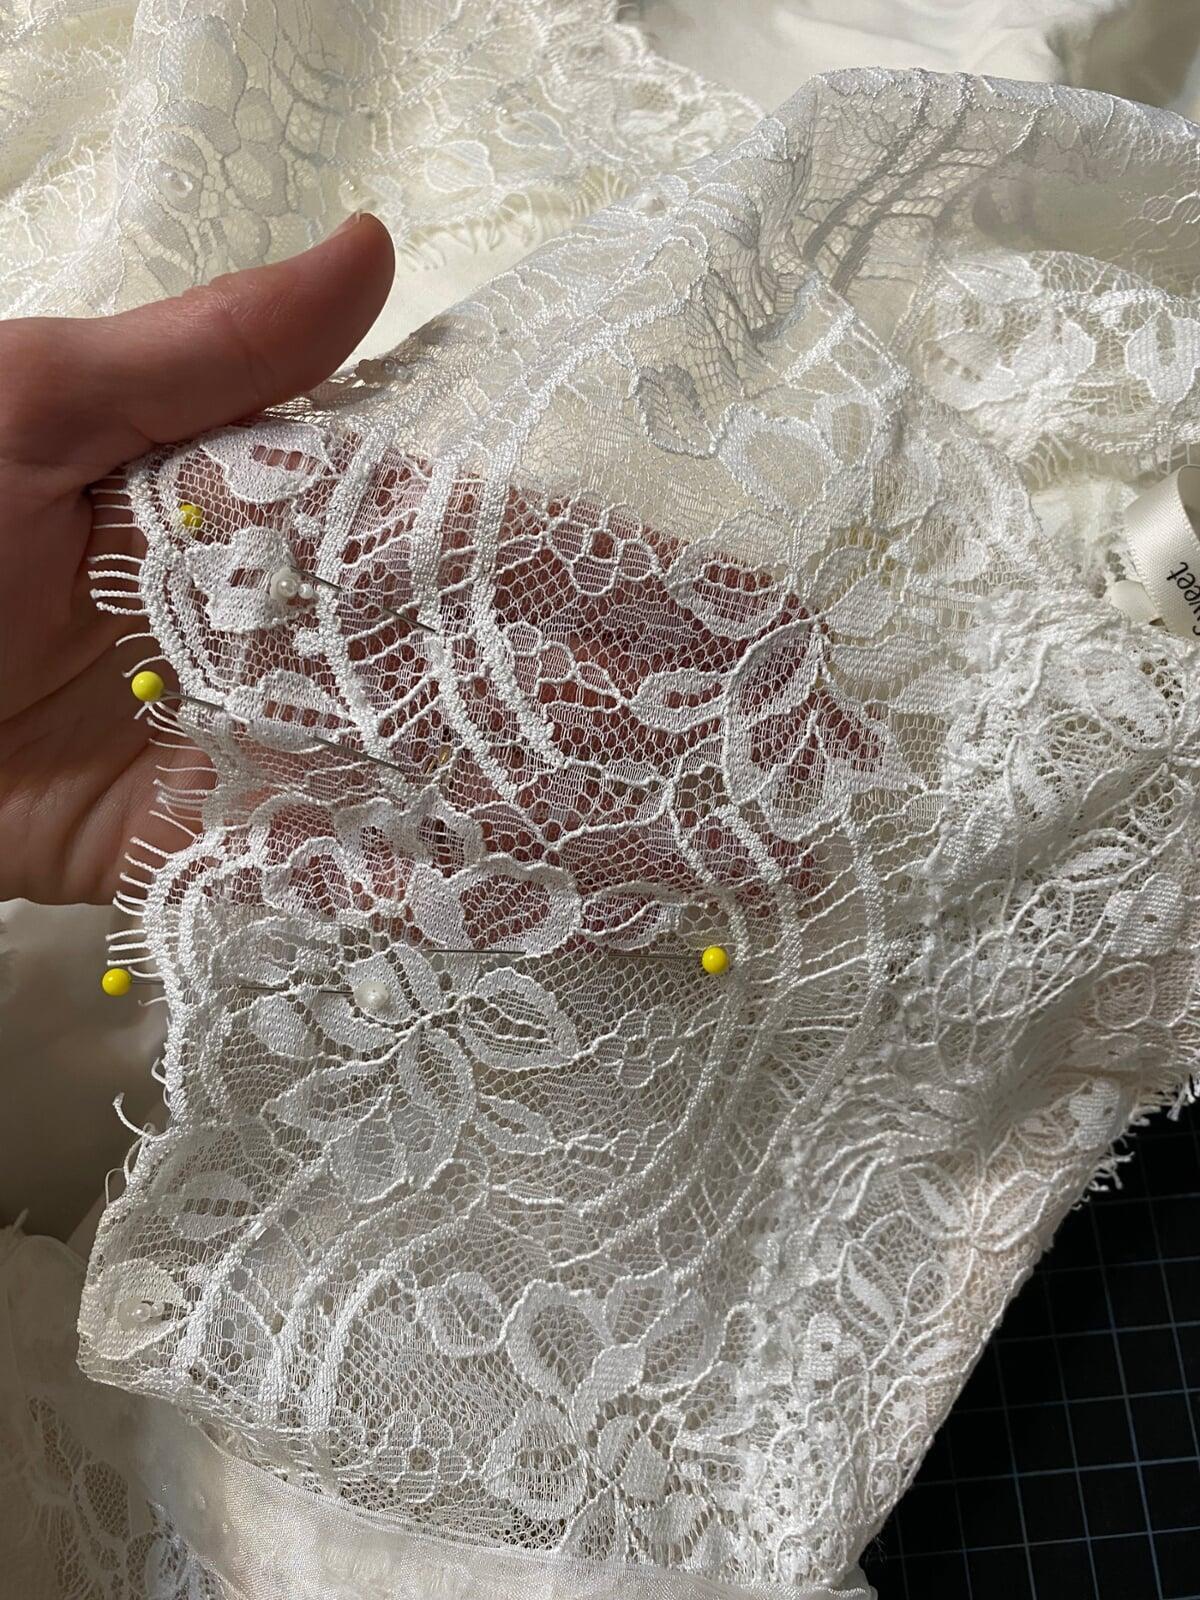
I carefully cut along the edge of the motifs in the lace, so that I could allow them to overlap when I was done. I then pinned the lace back, so I could make a dart in the mesh that was behind the lace.
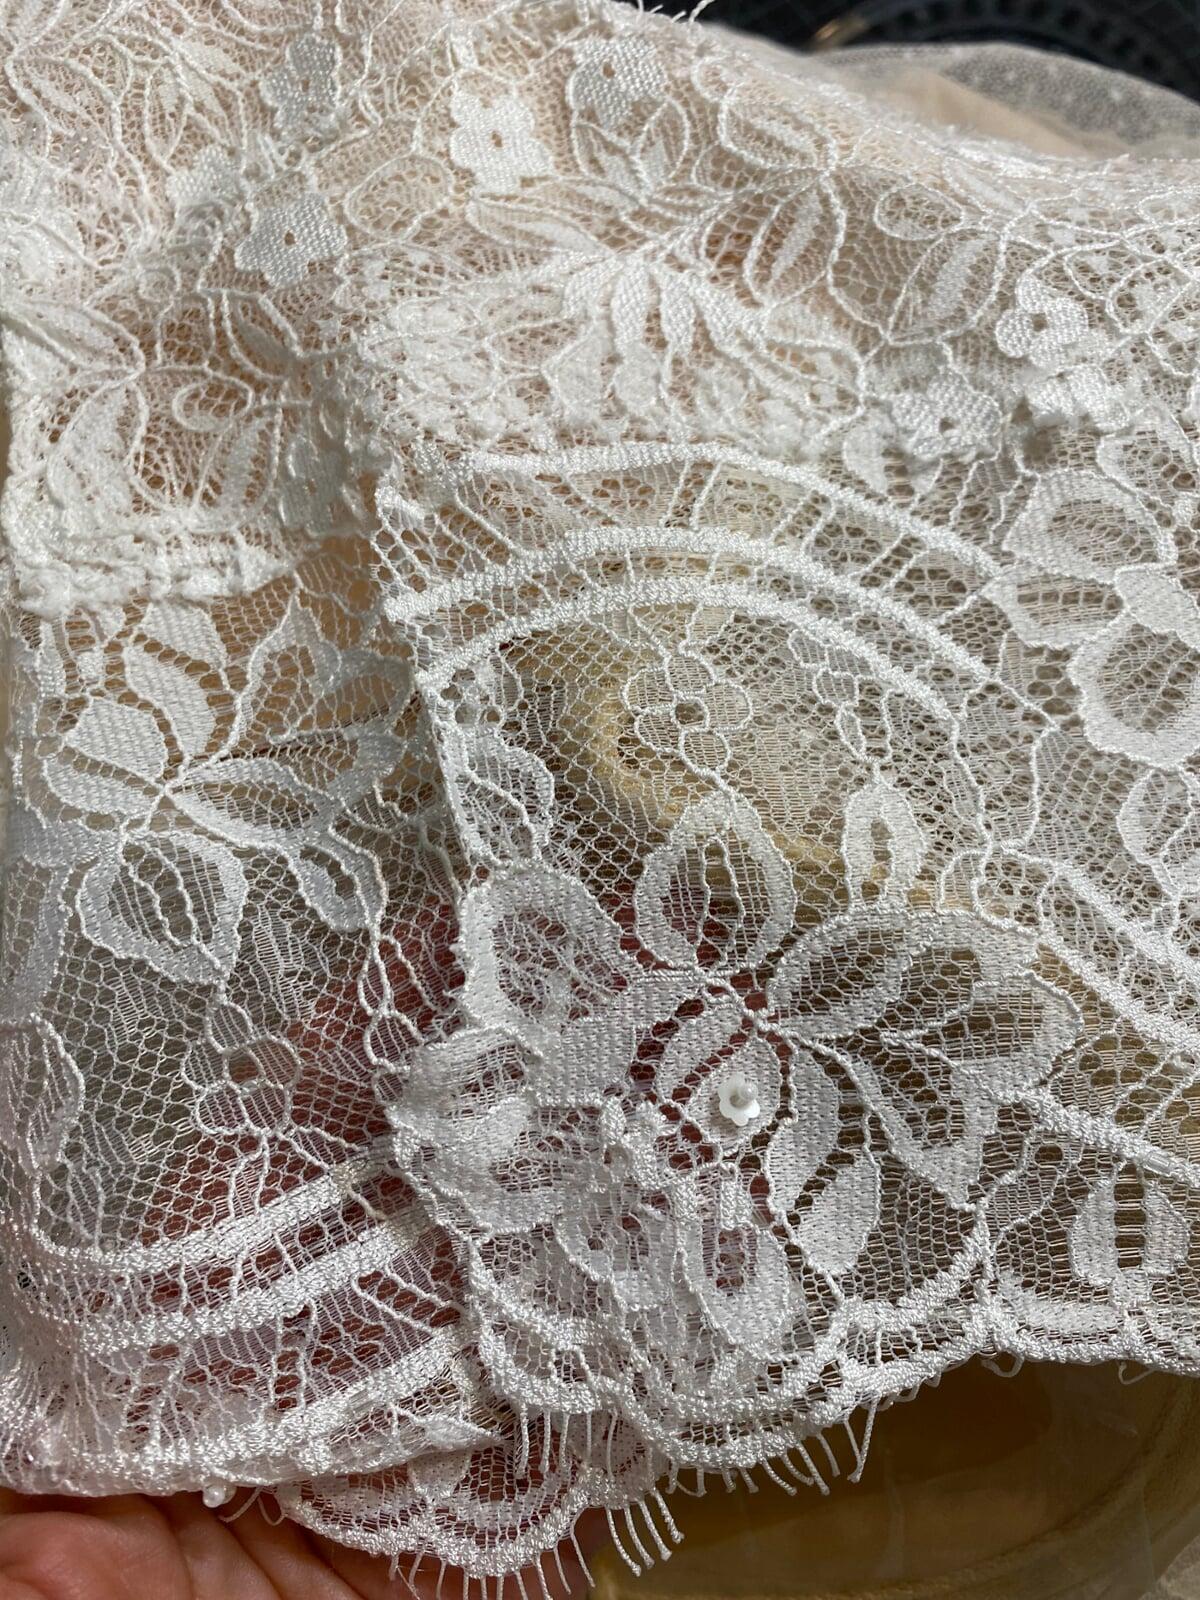
I then carefully overlapped the two layers of lace and trimming the excess to avoid bulk.
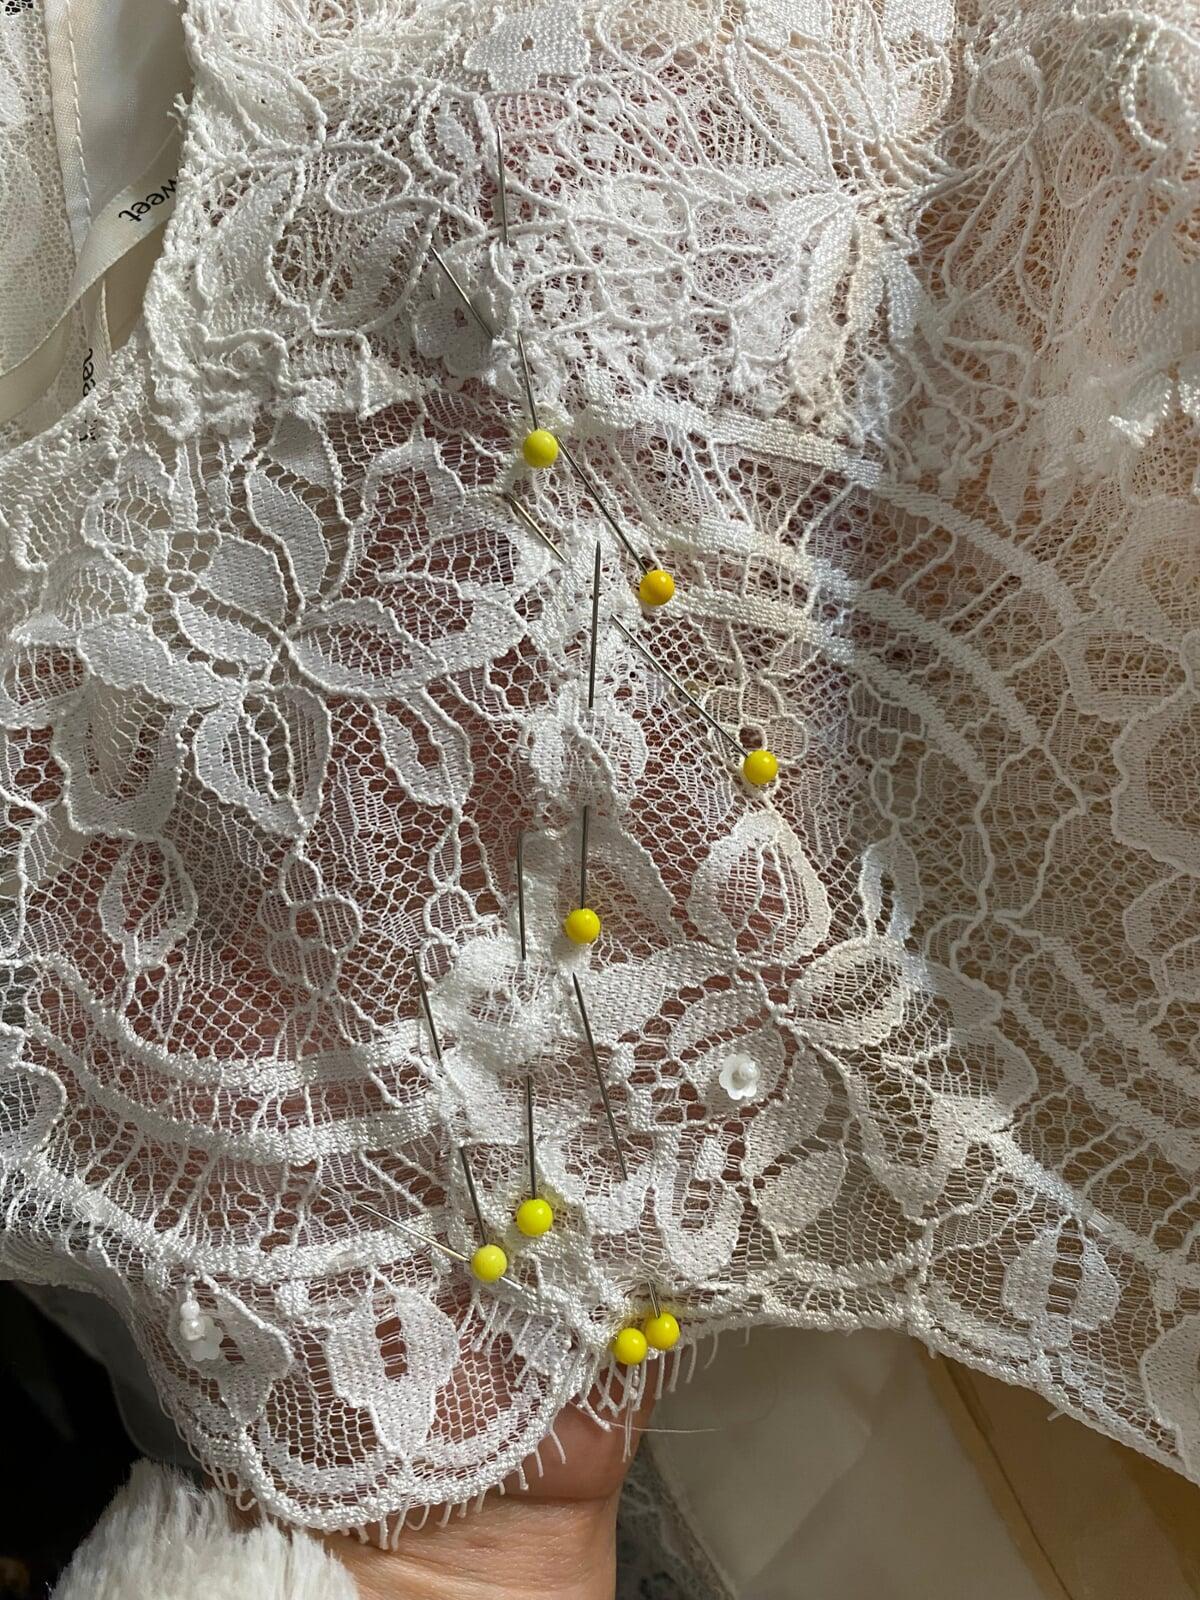
Lots of pins to hold everything exactly where I wanted it while sewing.
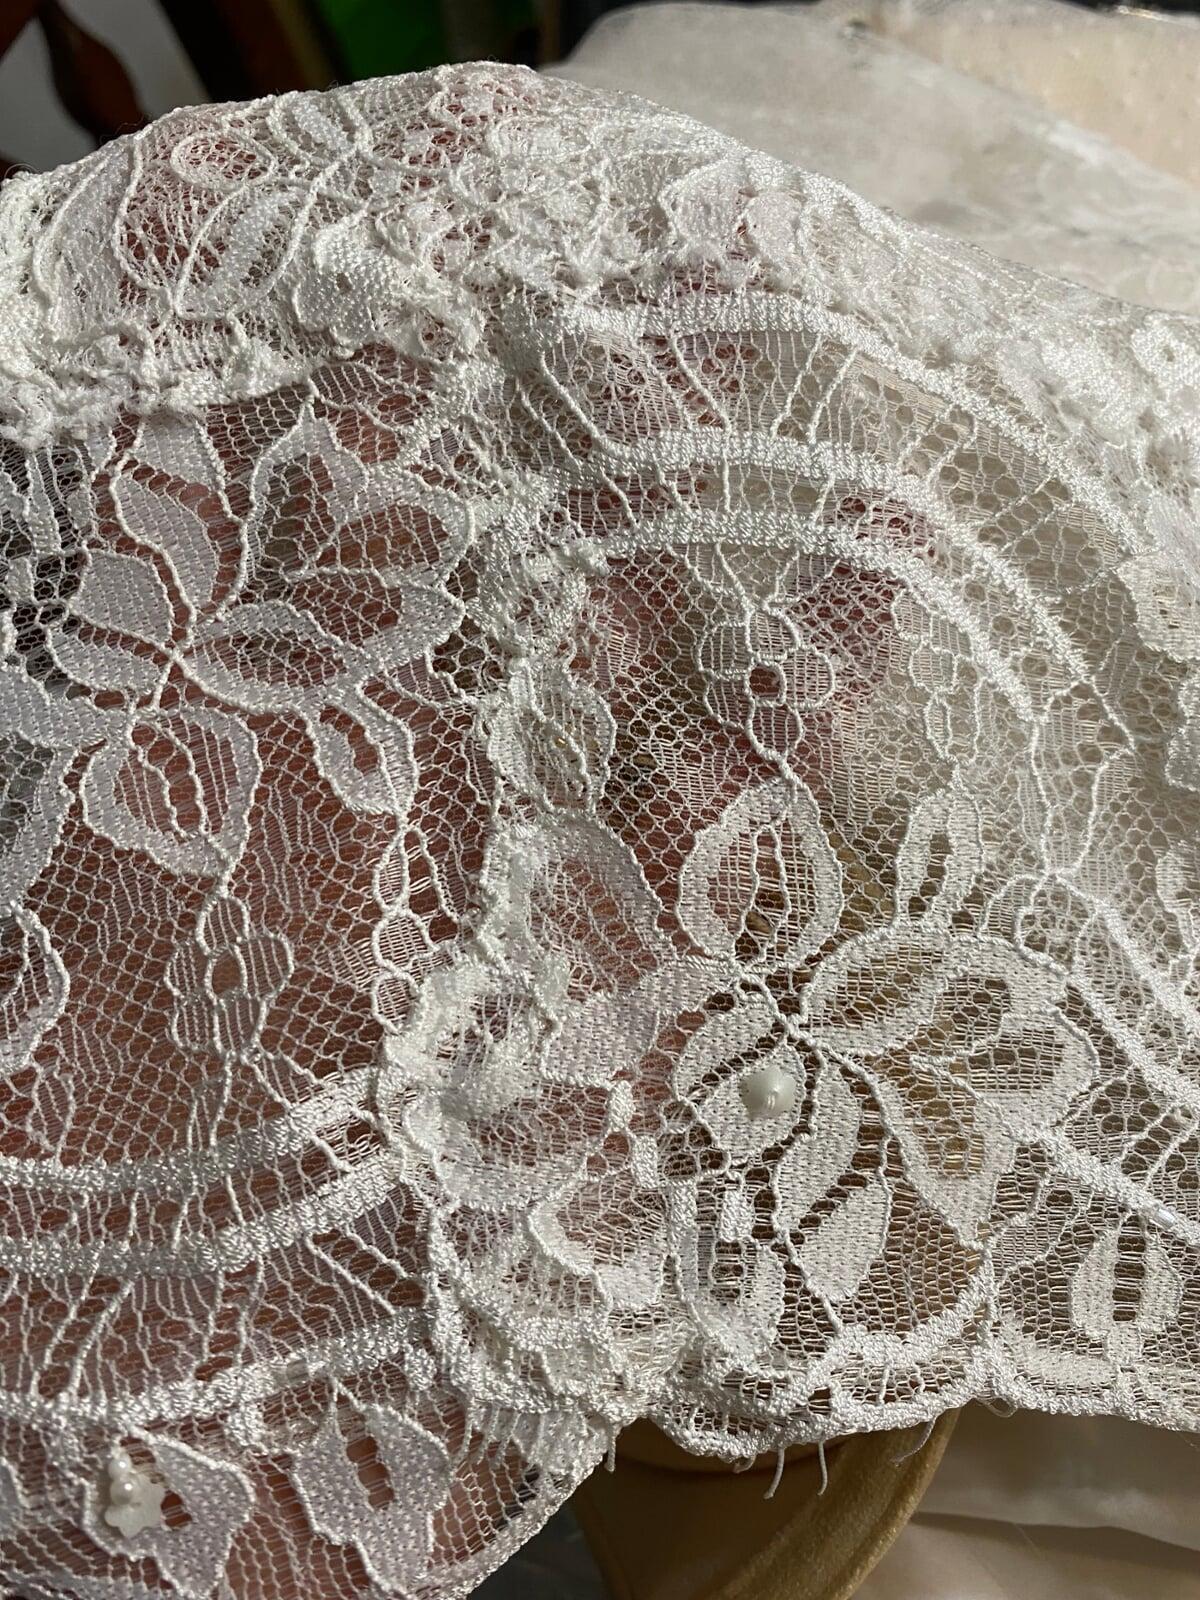
All stitched down.
Here you can see that the lace is now nice and smooth on her back.
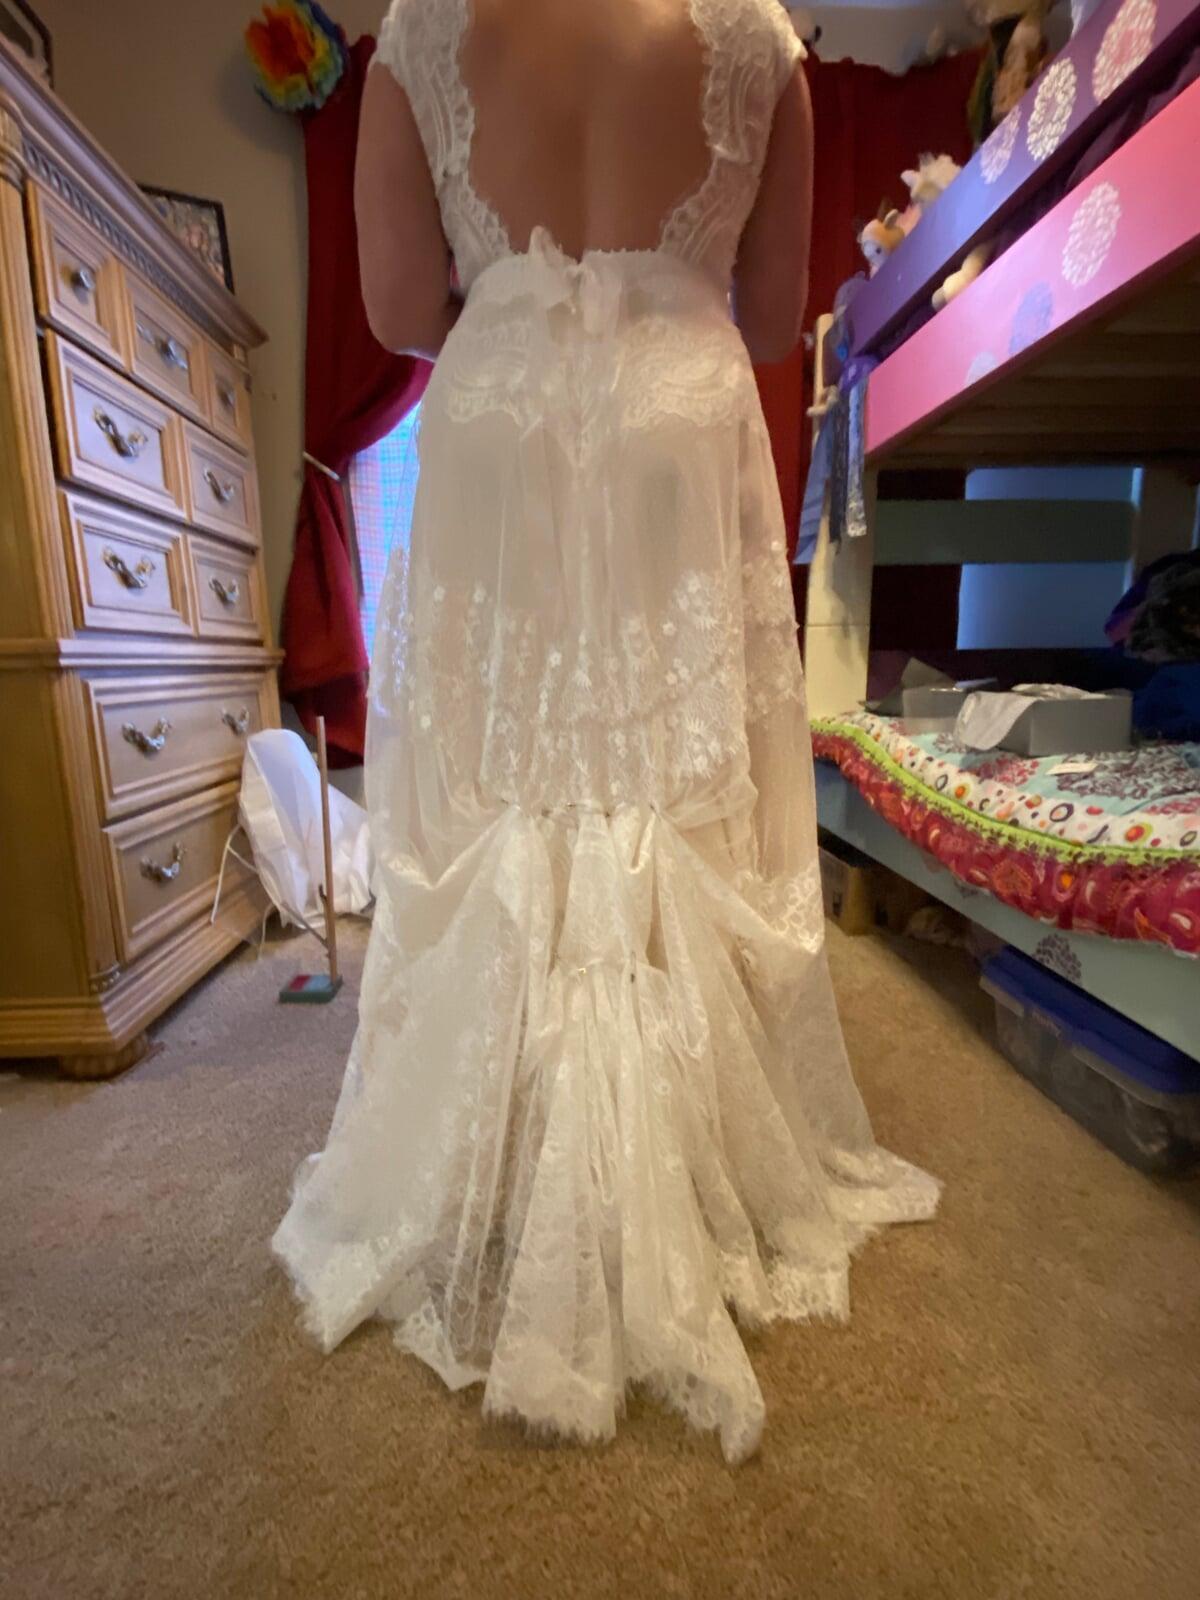
The bustle as we tentatively pinned it at her first fitting. A bustle allows you to move freely without worrying about stepping on your train after the ceremony.
The final rendition of her bustle! This particular bride didn't want the bustle to affect the hang of the front of the dress. To achieve this we did the bustle at about knee level. I was able to hide the buttons in the lace.